Windows 10 uses the Network Time Protocol (NTP) to keep its clock synced up with the official time. It periodically connects to a time server and syncs its clock with the official time.
Most of the time, this service works just fine, but if your time is off and it’s not a time zone issue, you may need to adjust the time server’s settings.
Enable or Disable the Time Server
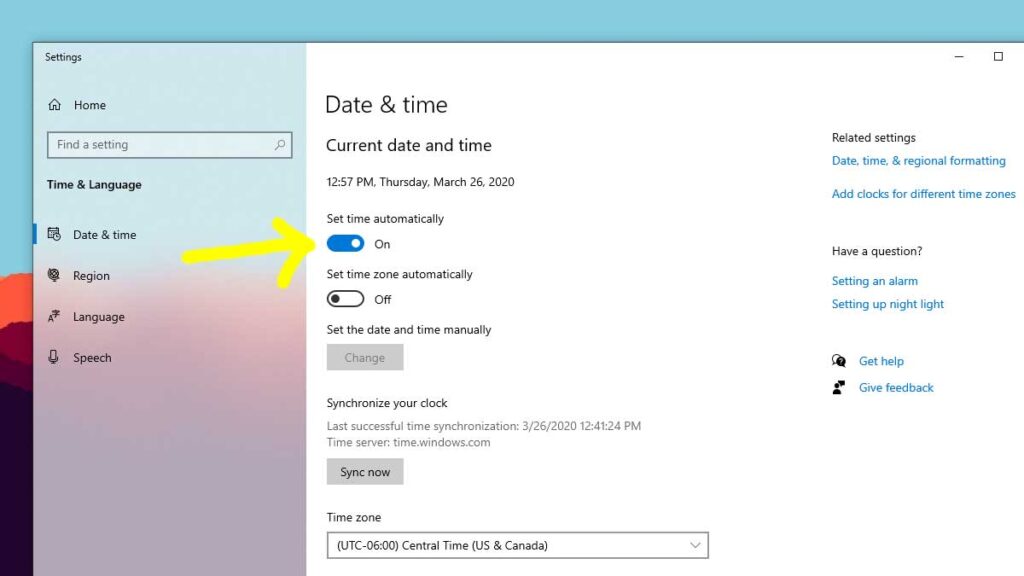
Right-click the clock at the bottom right of your screen and then select “Adjust date/time” in the menu.

By default, Windows 10 automatically syncs with the time.windows.com time server, but its time-sync capability can be toggled on or off by toggling “Set time automatically.”
Manually Sync Your Clock with a Time Server
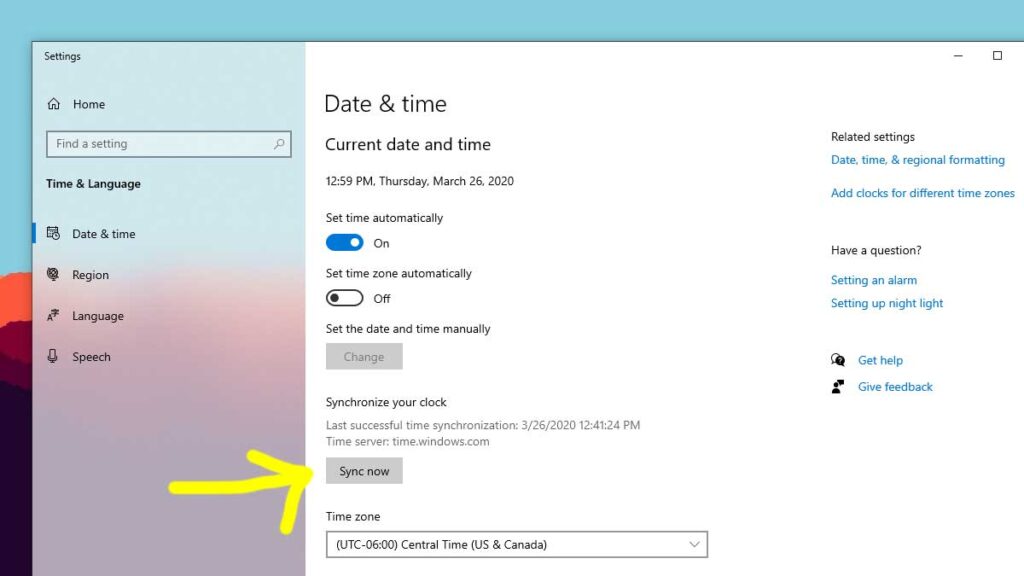
Right-click the time and date on the right side of the taskbar, and then select “Adjust date/time” in the menu.
Select the “Sync now” button to manually sync the time in Windows 10 with the time server. Notice how it tells you the last successful time synchronization and the time server it’s using the sync the time.
Change the Time Server
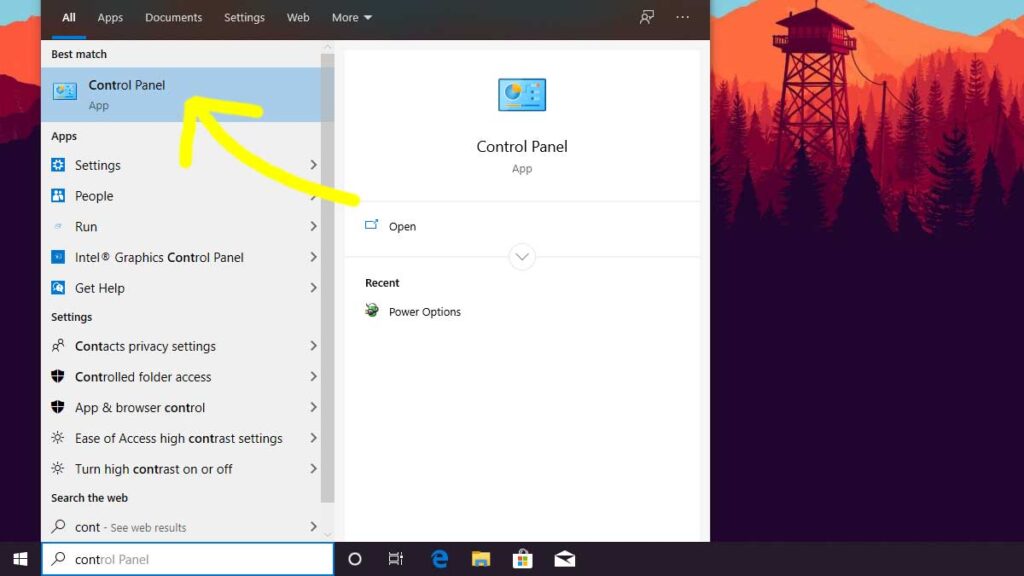
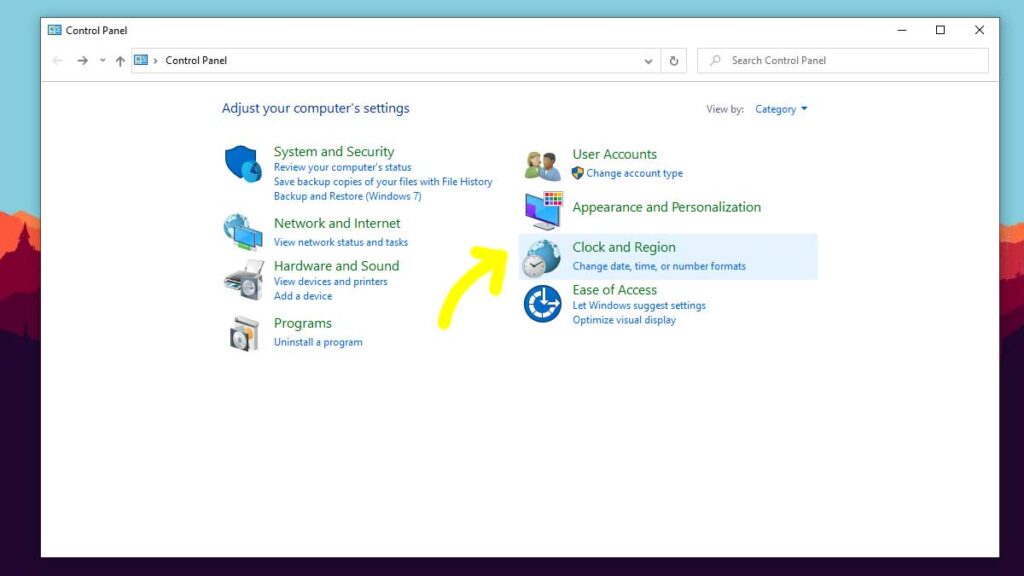
Open the Control Panel by typing “Control” in the taskbar’s search box, and then select “Control Panel” from the search results.
Select “Clock and Region” from the Control Panel options.
Select “Date and Time” from the Clock and Region options.
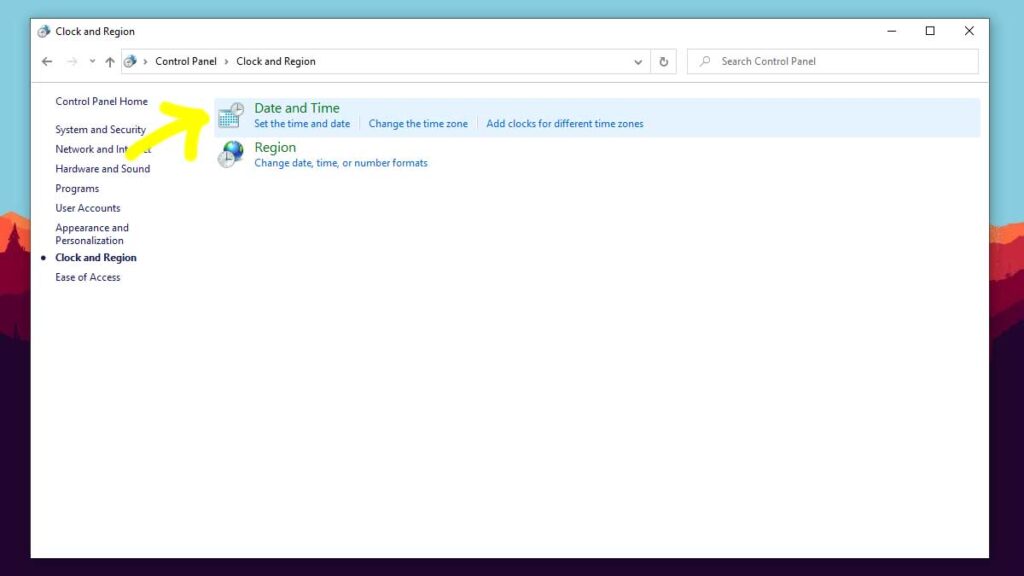
Select the “Internet Time” tab in the Date and Time window, and then select the “Change settings…” button.

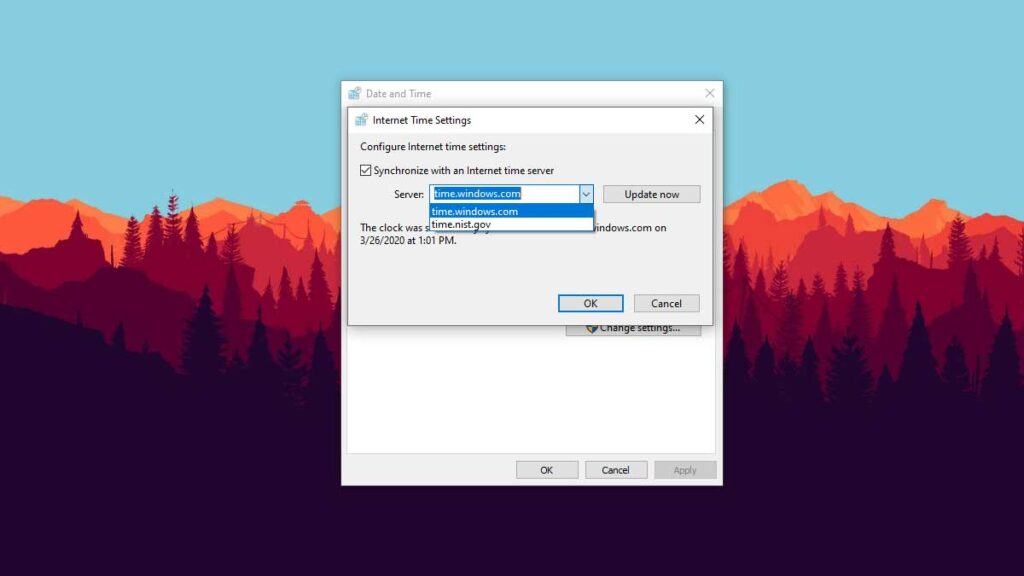
Choose a time server from the list of time servers, select “Update now,” and then select the “OK” button.
Add a New Time Server
Open the Control Panel by typing “Con” in the taskbar’s search box, and select “Control Panel” from the search results.
Select “Clock and Region” from the Control Panel options.
Select “Date and Time” from the options.
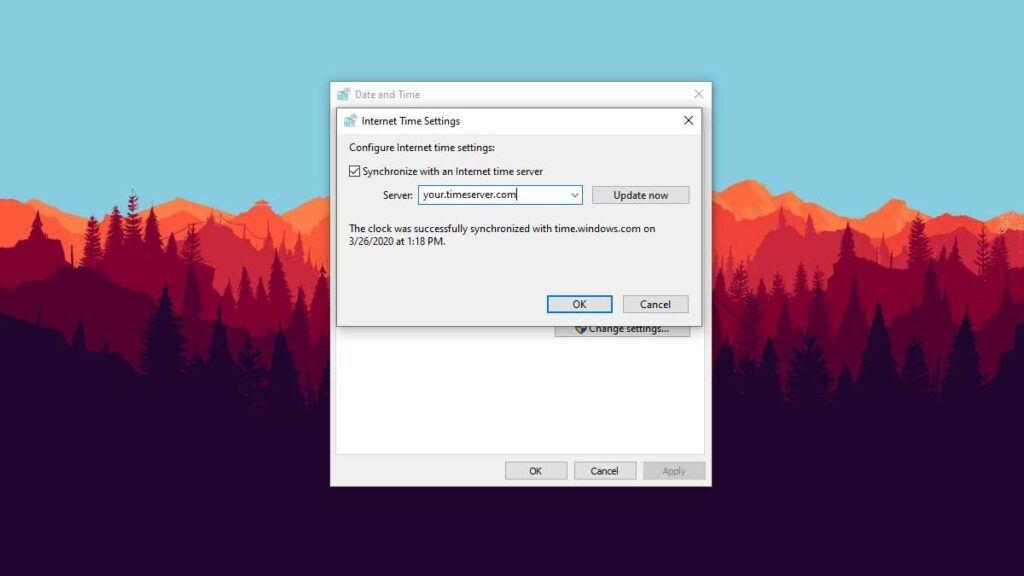
Choose the “Internet Time” tab in the Date and Time window.
Select the Server address, erase it, and then type your custom time server address. Select the “Update now” button to sync with the new time server, and then select the “OK” button to save the changes.
Here’s the list of government NIST Internet Time Servers.