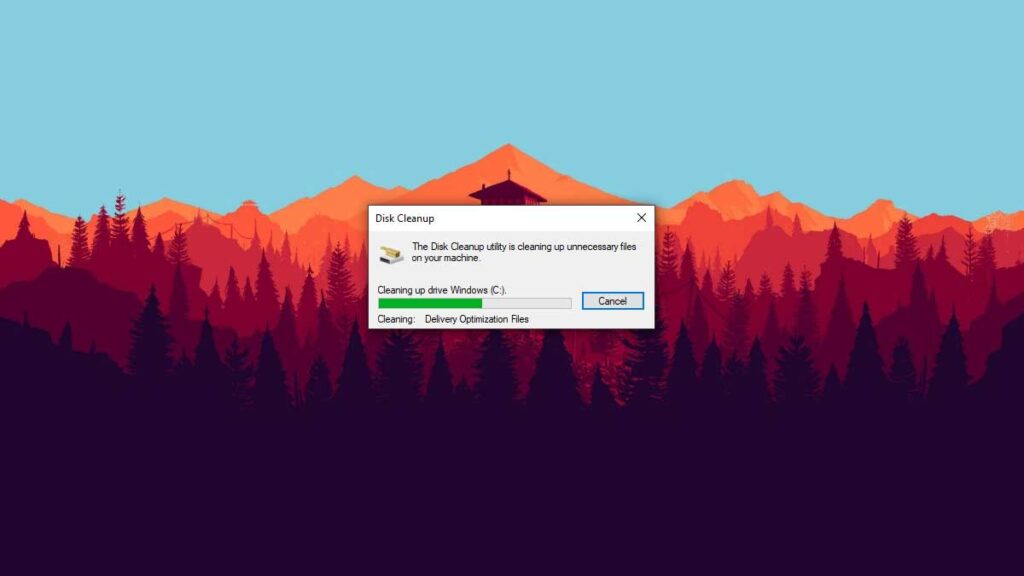
Internet browsers, software, and Windows updates store lots of unnecessary stuff on your hard drive. That stuff with the addition of log files, software temp files, and much more can take up a lot of space on your hard drive and maybe slow down your computer a little.
Windows 10 includes a Disk Cleanup tool, but it doesn’t remove much by default, and you have to run it manually. We’re going to show you how to set Disk Cleanup to remove as much unnecessary stuff as possible from your computer automatically every month.
Set Disk Cleanup to Remove Everything It Can
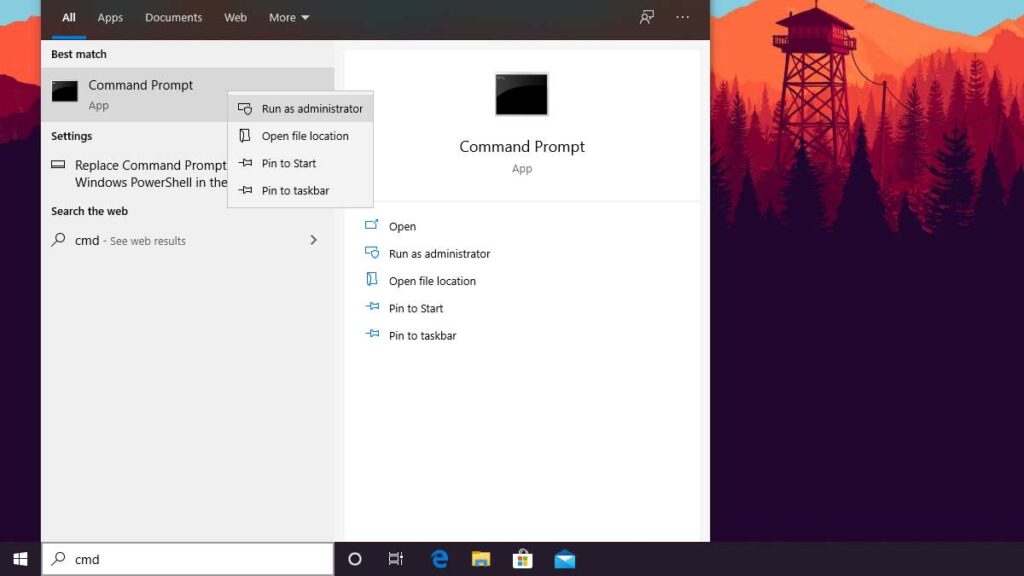
First, we need to set Disk Cleanup to remove everything it can. Type “cmd” in the Task Bar’s search box, right-click “Command Prompt” in the search results, select “Run as administrator” in the menu options, and then select “Yes” in the User Account Control popup.
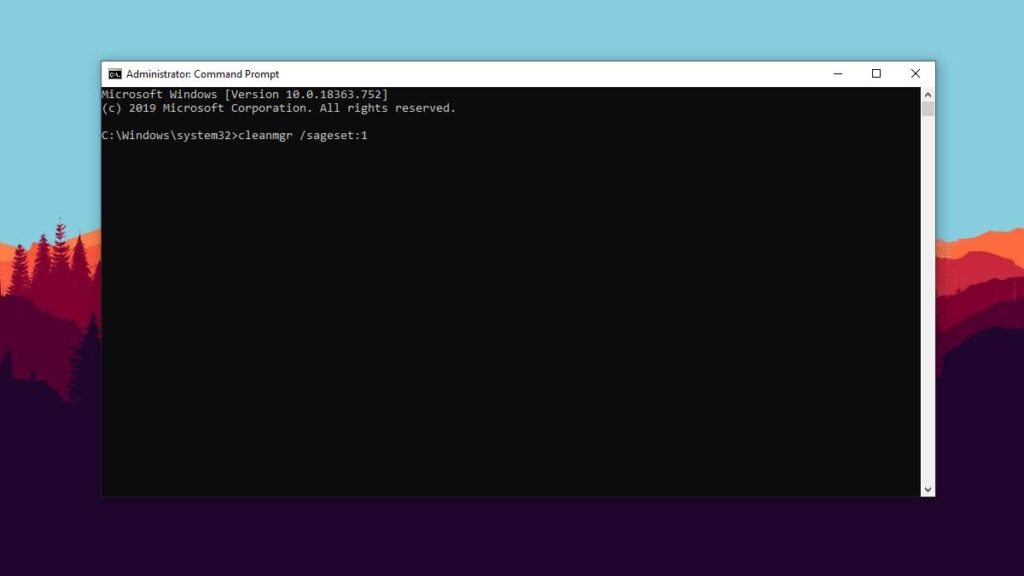
Type “cleanmgr /sageset:1” in the command prompt, and then press “Enter” on your keyboard.
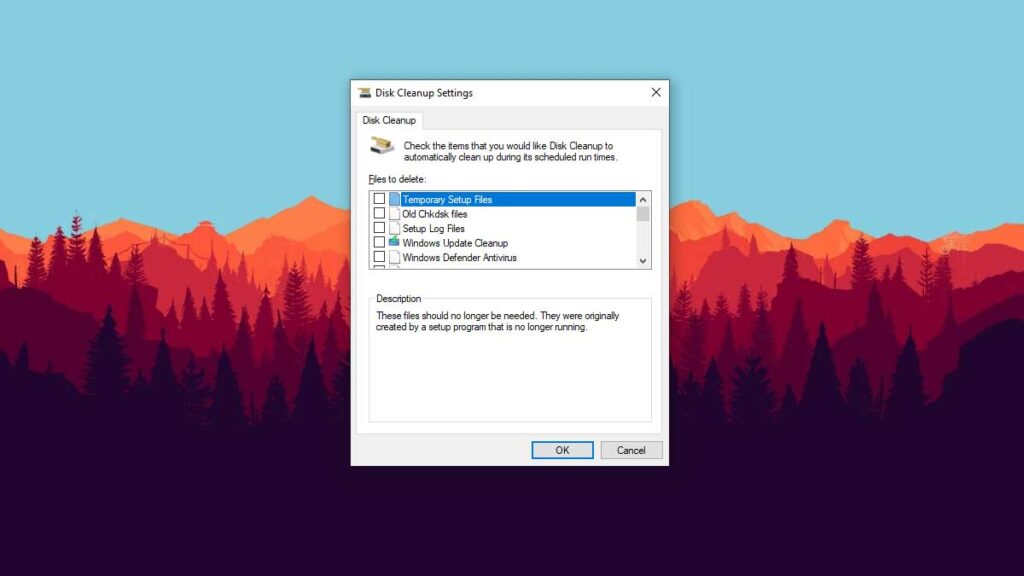
Check everything under “Files to delete” and then select the “OK” button.
Set Disk Cleanup to Run Monthly
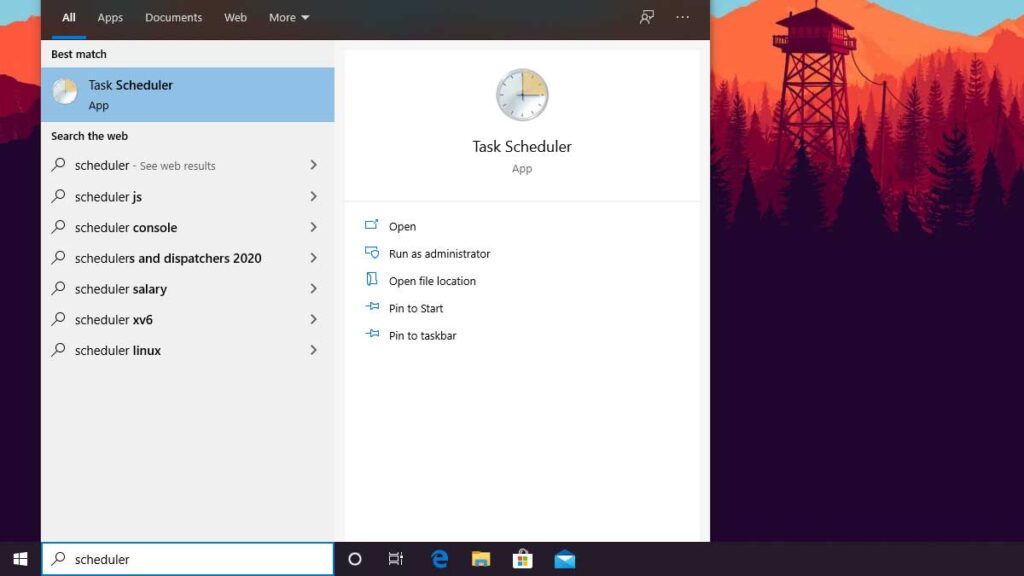
Type “scheduler” in the Task Bar’s search box, and then select “Task Scheduler” from the search results.
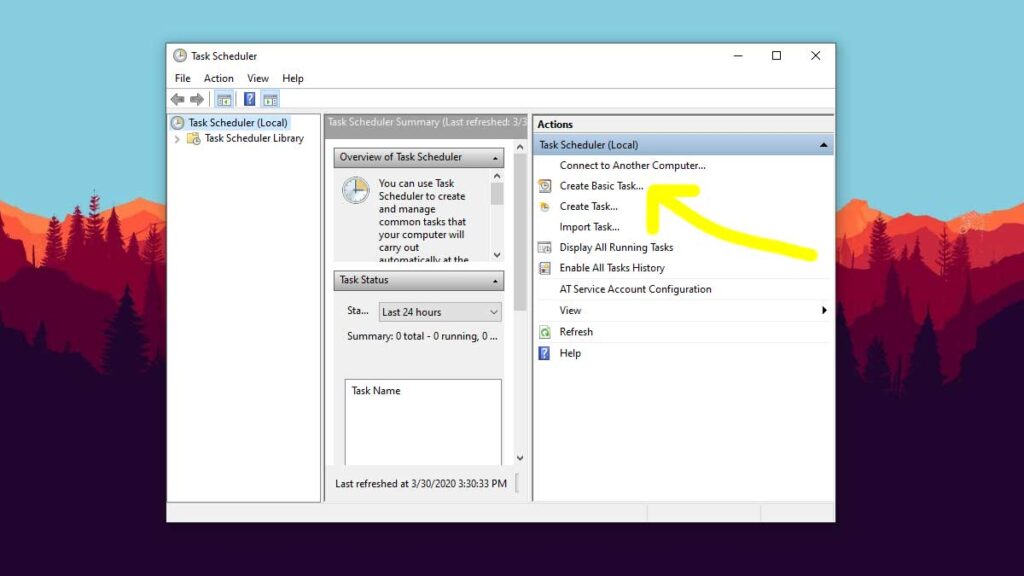
Select “Create Basic Task” in the Actions column of the Task Scheduler.
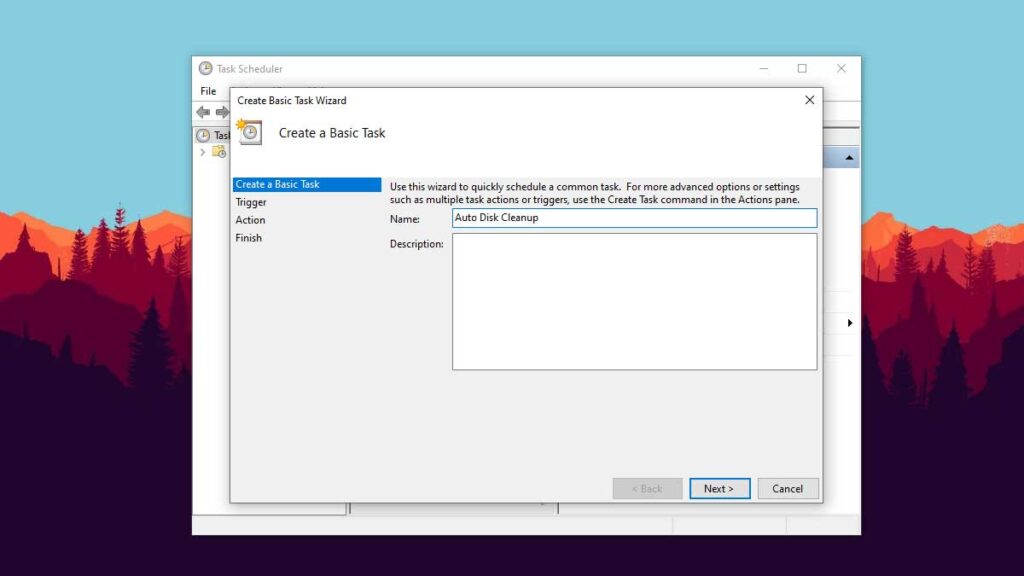
Give this task a name in the “Name” box, and then press the “Next” button.
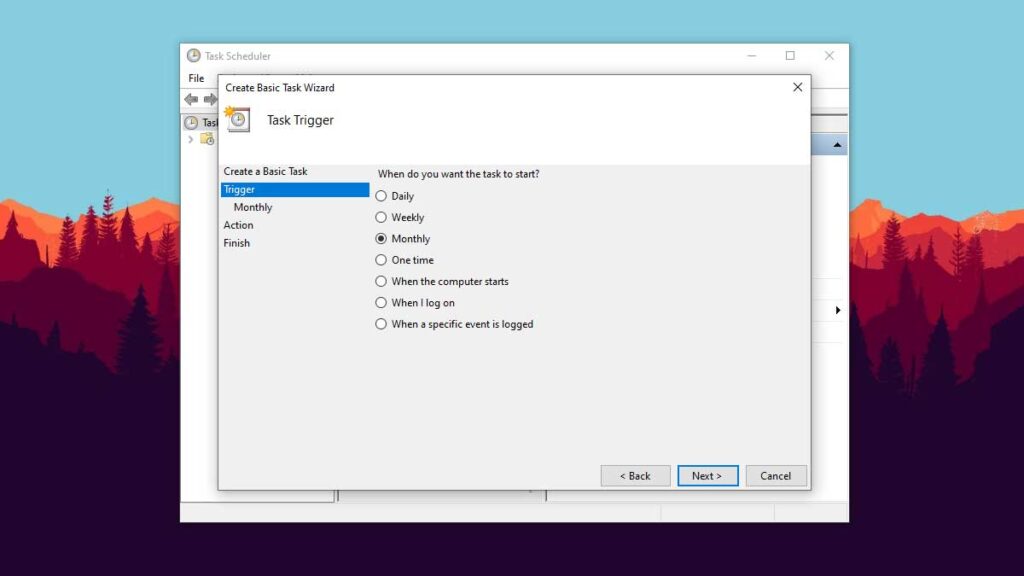
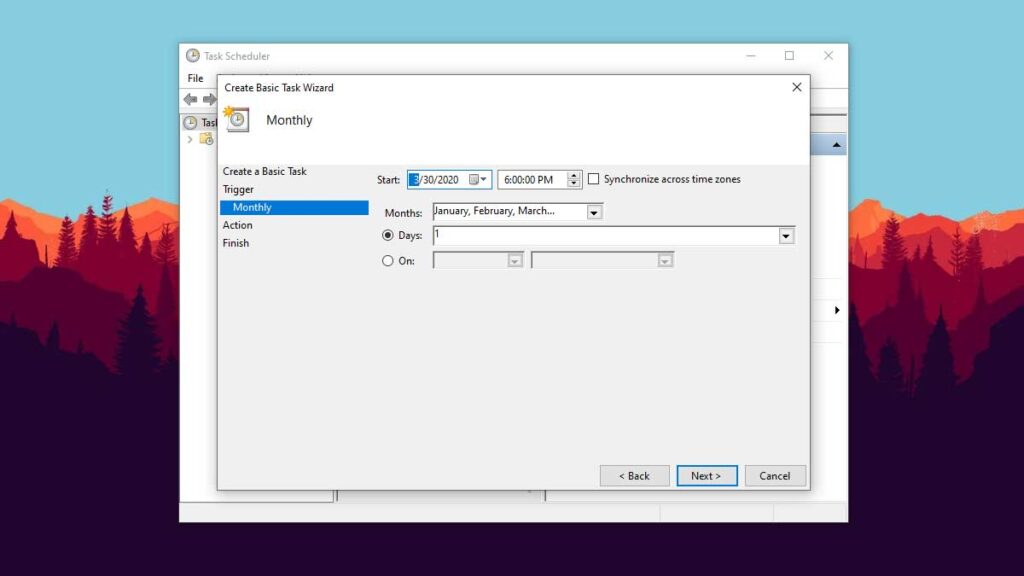
Choose “Monthly” as the Task Trigger, and then press the “Next” button.
Set the time of day you want Disk Cleanup to clean your computer next to “Start,” every month next to “Months,” and which day of the month next to “Days.” Click the “Next” button when you’re done.
I set Disk Cleanup to run at 6:00 pm on the 1st of every month.
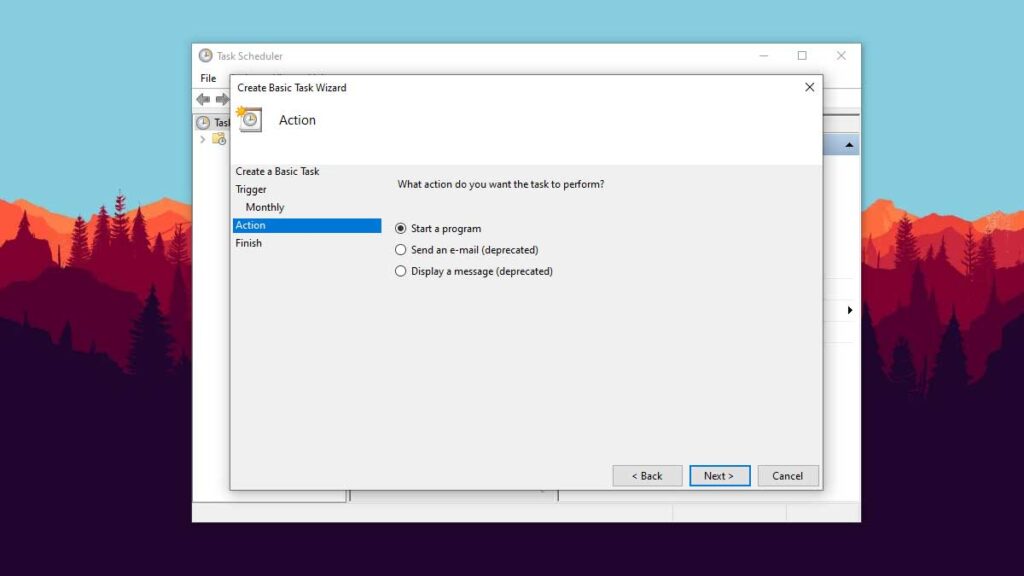
Choose to “Start a program” as the Action, and then press the “Next” button.
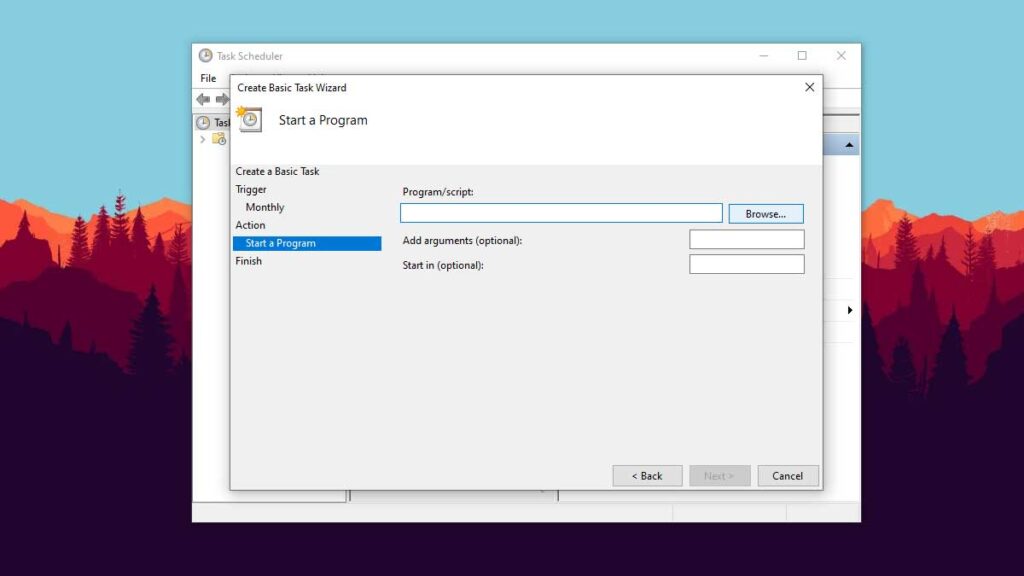
Press the “Browse” button next to “Program/script.”
Type “clean” in the “File name” box at the bottom of the “Open” window that pops up, and then select “cleanmgr.exe” from the options that appear. Press the “Open” button when you’re done.
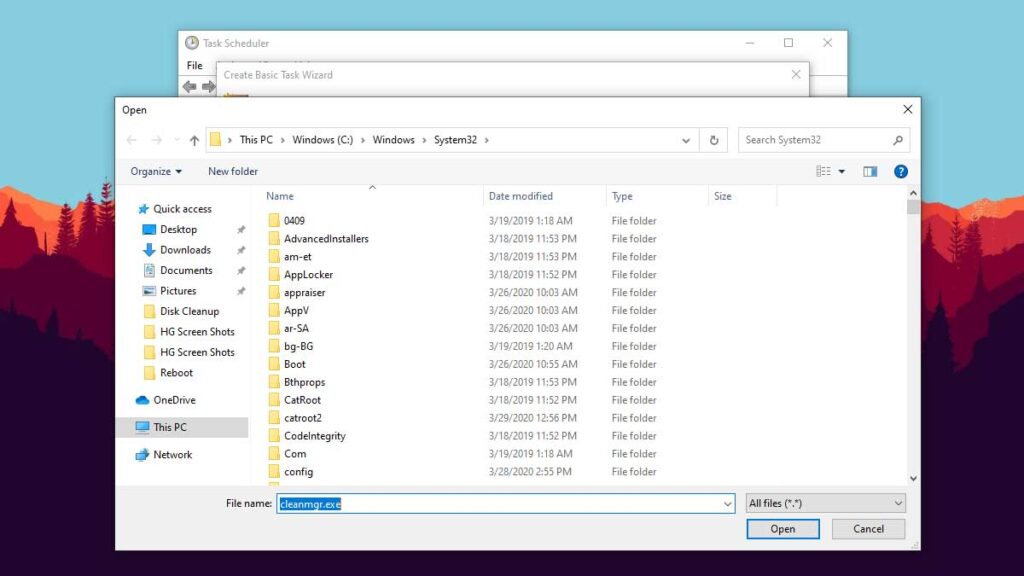
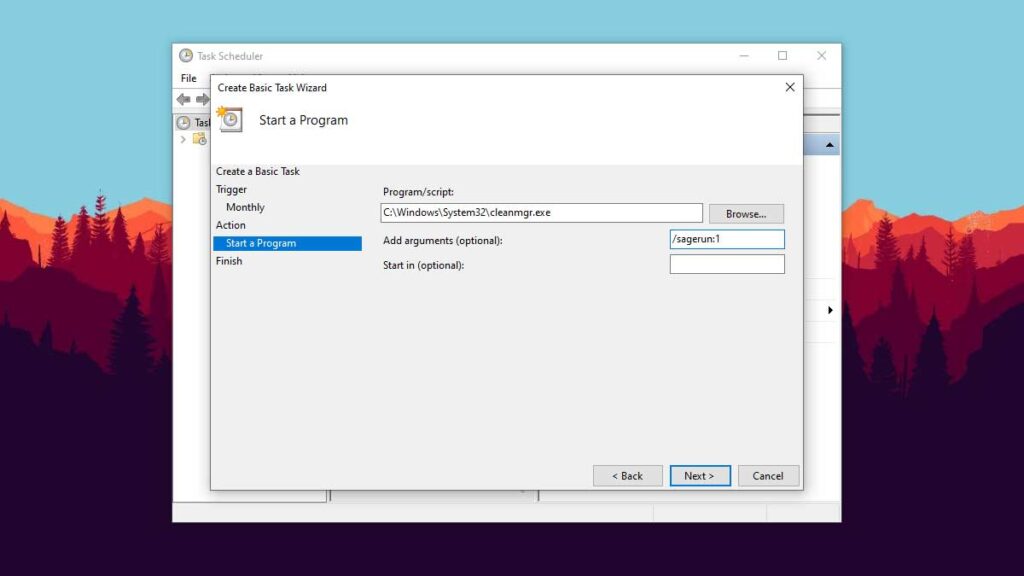
“C:\Windows\System32\cleanmgr.exe” should be in the “Program/script” box now.
Type “/sagerun:1” in the “Add arguments (optional)” box, and then press the “Next” button.
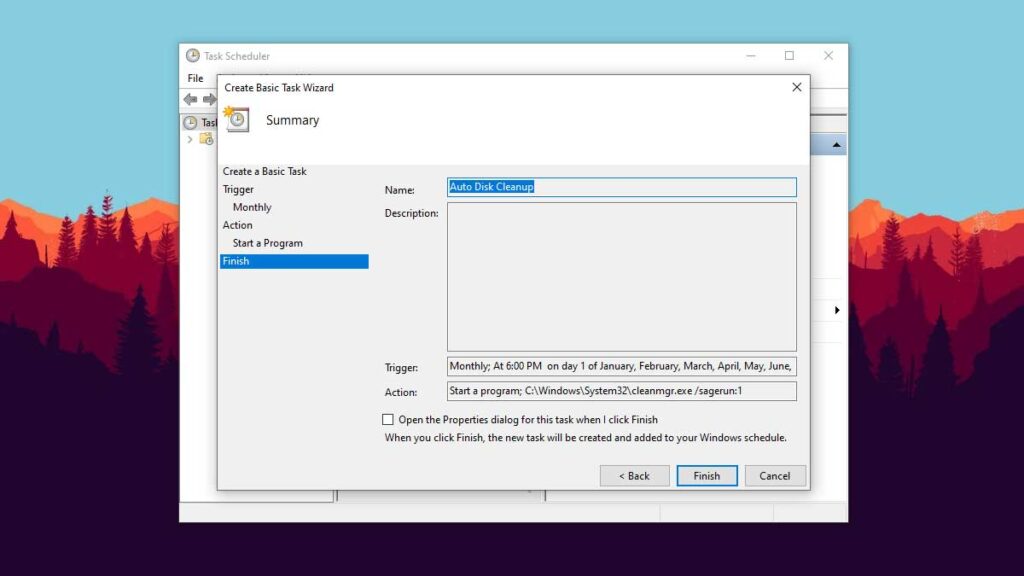
Review your new task, and then press “Finish.”
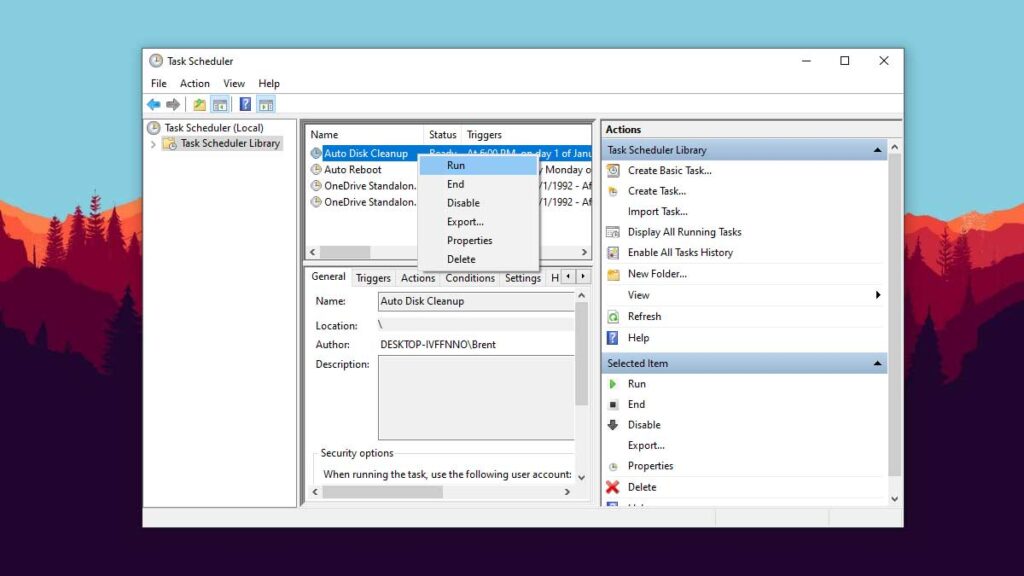
Let’s take the automatic disk cleanup task for a test drive. Select “Task Scheduler Library” in the left column of the Task Scheduler. Right-click the task you just created in the center column, and then choose “Run” in the options.
It might happen quickly, but if you minimize the Task Scheduler, you’ll see Disk Cleanup running and doing its thing.
